Extract data
In the first step in our pipeline, we will use software-defined assets to load files into DuckDB, an analytical database. This data will serve as the foundation for the rest of the ETL tutorial.
1. Scaffold an asset
We will start by writing our ingestion assets. Assets serve as the building blocks for our platform in Dagster and represent the underlying entities in our pipelines (such as tables, datasets, or machine learning models). Assets take dependencies on other assets to build out the full graph of our data platform and define its lineage.
When building assets, the first step is to scaffold the assets file with the dg scaffold command. The dg CLI provides a number of commands to help structure and navigate Dagster projects. For more information, see the dg CLI documentation:
dg scaffold defs dagster.asset assets.py
Creating a component at <YOUR PATH>/etl-tutorial/src/etl_tutorial/defs/assets.py.
This adds a file called assets.py that will contain our asset code to the etl_tutorial module. Using dg to create the file ensures that the file is in a location where it can be automatically discovered by Dagster:
src
└── etl_tutorial
    └── defs
        └── assets.py
2. Write DuckDB helper functions
Since we will be working with DuckDB, we will need to add the DuckDB Python library to our Dagster project:
uv pip install duckdb
We can use this library to establish a connection with a DuckDB database running locally. We will define multiple assets using the same DuckDB database, so we will want to write a helper function to ensure that each asset can acquire a lock on the DuckDB database file when writing data:
import duckdb
import filelock


def serialize_duckdb_query(duckdb_path: str, sql: str):
    """Execute SQL statement with file lock to guarantee cross-process concurrency."""
    lock_path = f"{duckdb_path}.lock"
    with filelock.FileLock(lock_path):
        conn = duckdb.connect(duckdb_path)
        try:
            return conn.execute(sql)
        finally:
            conn.close()
This function ensures that the query holds a lock on the file throughout its execution. Now, we can think about how we want to ingest the data into DuckDB. For this tutorial we will be working with three files:
All of these files are located in cloud storage, and we would like to ingest each of them into a separate table in the DuckDB database. In Dagster, we want each table to be represented as its own asset. Because each asset will have similar logic for ingesting the files, we can write a function to standardize the logic:
...


def import_url_to_duckdb(url: str, duckdb_path: str, table_name: str):
    create_query = f"""
        create or replace table {table_name} as (
            select * from read_csv_auto('{url}')
        )
    """

    serialize_duckdb_query(duckdb_path, create_query)
This function will take in the URL for one of our files and a table name, and load the data into DuckDB using DuckDB CSV import functionality. Then using the serialize_duckdb_query function we just defined, it will execute the query while ensuring a proper lock on the DuckDB database.
3. Define assets
Now that we have written our DuckDB helper functions, we are ready to create our assets. We will define an asset for each file we want to ingest:
...


import dagster as dg


@dg.asset(kinds={"duckdb"}, key=["target", "main", "raw_customers"])
def raw_customers() -> None:
    import_url_to_duckdb(
        url="https://raw.githubusercontent.com/dbt-labs/jaffle-shop-classic/refs/heads/main/seeds/raw_customers.csv",
        duckdb_path="/tmp/jaffle_platform.duckdb",
        table_name="jaffle_platform.main.raw_customers",
    )


@dg.asset(kinds={"duckdb"}, key=["target", "main", "raw_orders"])
def raw_orders() -> None:
    import_url_to_duckdb(
        url="https://raw.githubusercontent.com/dbt-labs/jaffle-shop-classic/refs/heads/main/seeds/raw_orders.csv",
        duckdb_path="/tmp/jaffle_platform.duckdb",
        table_name="jaffle_platform.main.raw_orders",
    )


@dg.asset(kinds={"duckdb"}, key=["target", "main", "raw_payments"])
def raw_payments() -> None:
    import_url_to_duckdb(
        url="https://raw.githubusercontent.com/dbt-labs/jaffle-shop-classic/refs/heads/main/seeds/raw_payments.csv",
        duckdb_path="/tmp/jaffle_platform.duckdb",
        table_name="jaffle_platform.main.raw_payments",
    )
In Dagster, an asset is defined by the @dg.asset. Any function with that decorator will be treated as part of the Dagster asset graph. Within that decorator, we can define some optional characteristics of the asset itself:
- The
kindsargument adds metadata about the tools and technologies used by the asset. - The
keyargument defines the key path of the asset. Without setting the key argument, the asset key will be the function name. Here we will explicitly set a key for our assets to work with our dbt project in the next step.
4. Dagster definitions
In Dagster, all the objects we define (such as assets) need to be associated with a top-level Definitions object in order to be deployed. When we first created our project with uvx create project, a definitions.py file was created as well:
from pathlib import Path

from dagster import definitions, load_from_defs_folder


@definitions
def defs():
    return load_from_defs_folder(project_root=Path(__file__).parent.parent.parent)
This Definitions object loads the etl_tutorial module and automatically discovers all the assets and other Dagster objects we define. There is no need to explicitly include any references to assets as they are created. However, it is a good practice to check that the Definitions object can be loaded without error as we add Dagster objects.
We can use dg to ensure that everything we define in our module is loading correctly and that our project is deployable. Here we can use the dg check defs command:
dg check defs
All components validated successfully.
All definitions loaded successfully.
This tells us there are no issues with any of the assets we have defined. As you develop your Dagster project, it is a good habit to run dg check to ensure everything is working as expected.
5. Materialize the assets
Now that our assets are configured and we have verified that the top-level Definitions object is valid, we can view the asset catalog within the Dagster UI. Navigate back to http://127.0.0.1:3000 (or restart dg dev if you have closed it) and reload the definitions:
-
Navigate to Deployment.
-
Click Reload definitions.
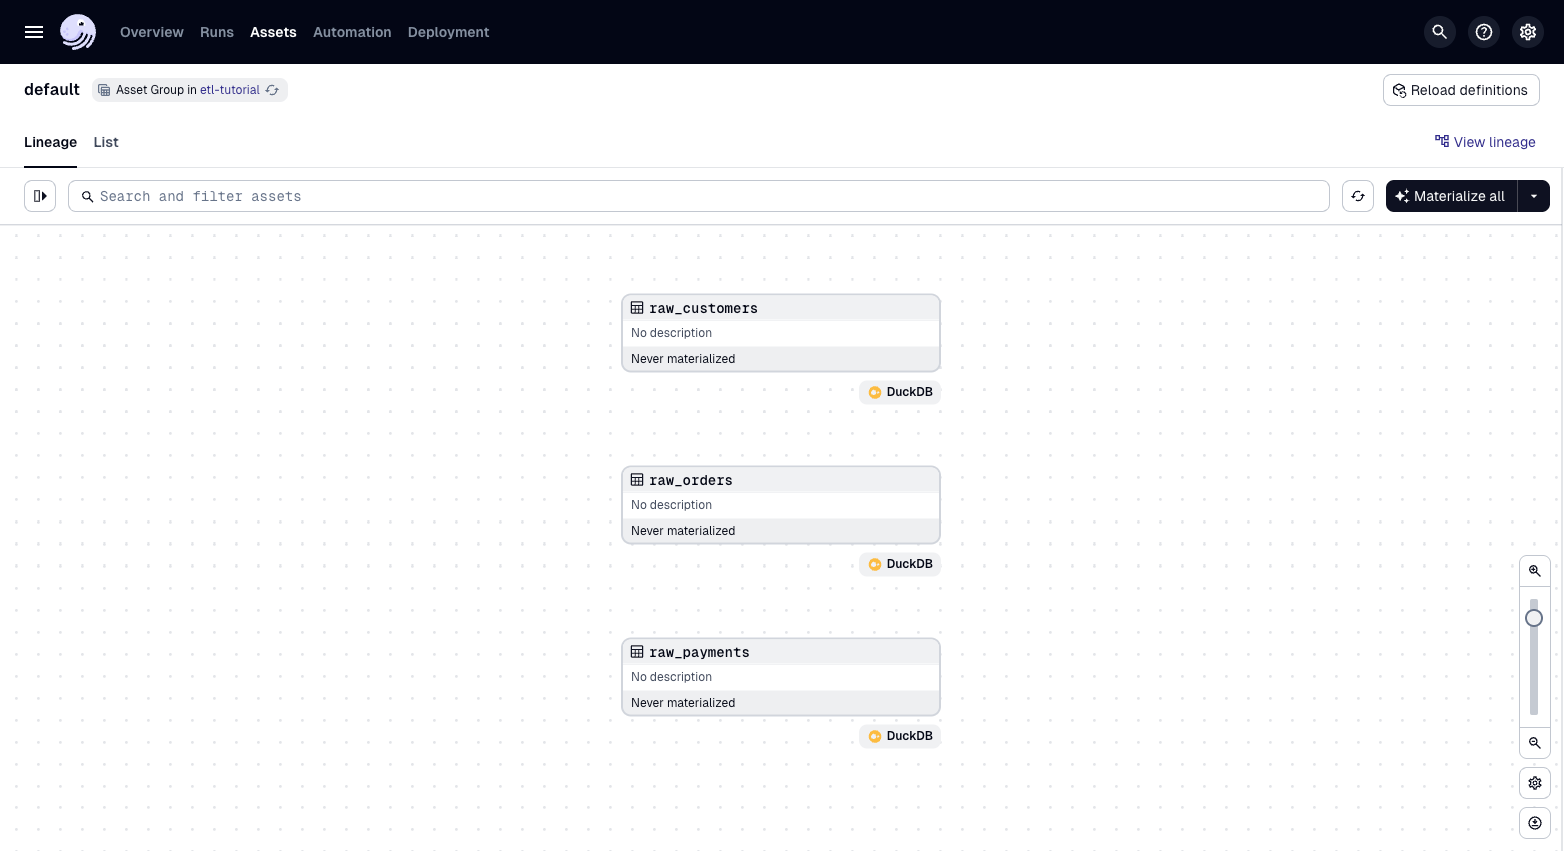
You should see three assets, one for each of the three raw files (customers, orders, payments) being loaded into DuckDB:
To materialize the assets:
-
Click Assets, then click "View global asset lineage" to see all of your assets.
-
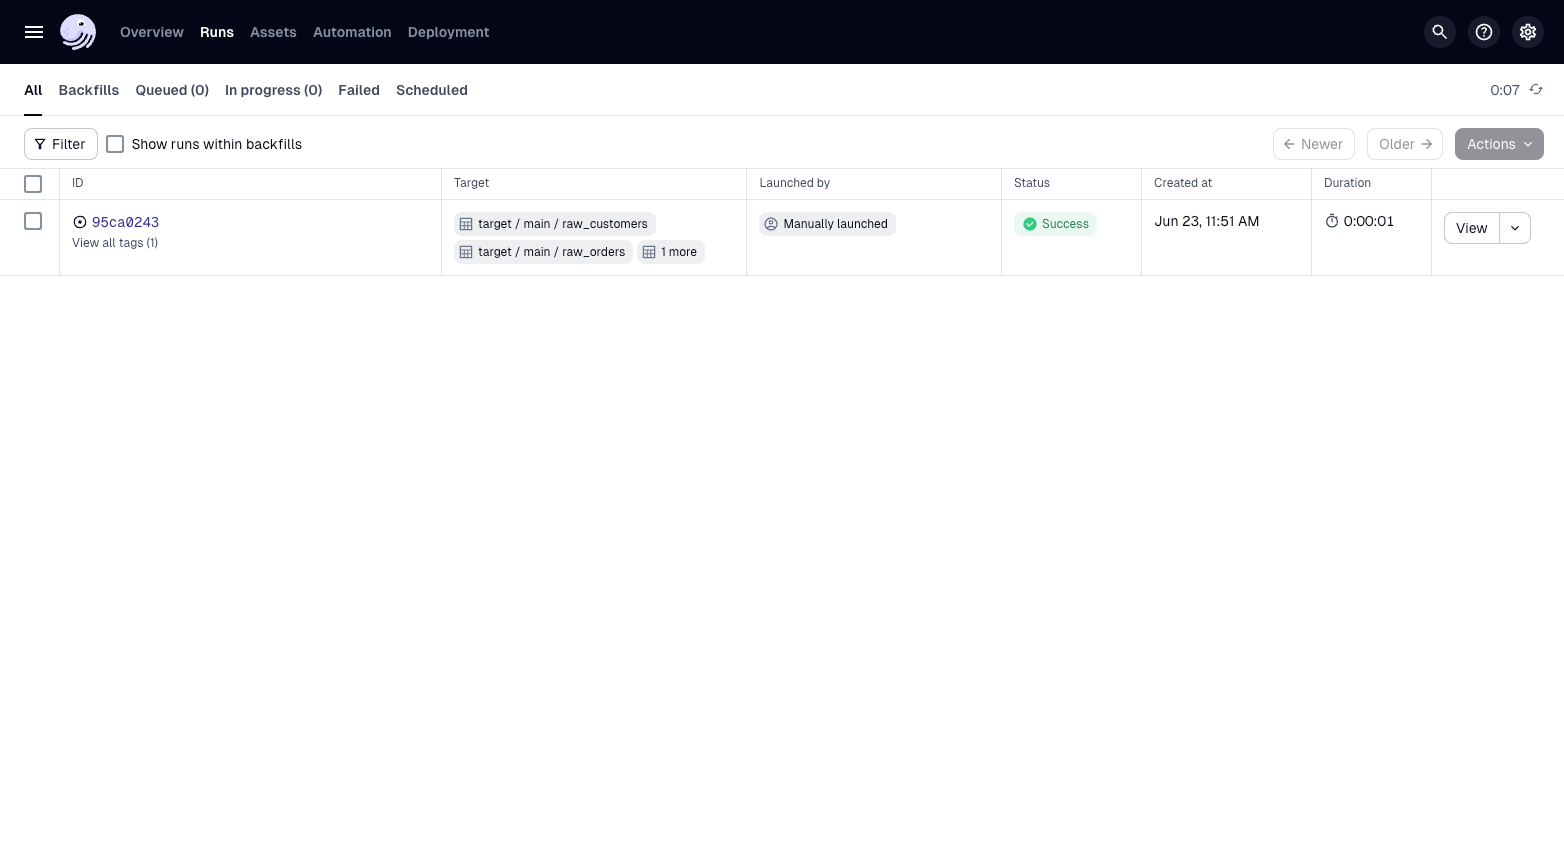
Click materialize all.
-
Navigate to the runs tab and select the most recent run. Here you can see the logs from the run.
You can also materialize assets from the command line with dg launch. You will need to pass an asset selection -- in this case, * selects all assets:
dg launch --assets "*"
To launch specific assets, pass an asset selection that selects them:
dg launch --asset target/main/raw_customers,target/main/raw_orders,target/main/raw_payments
Summary
At this point, we have handled the ingestion layer of our ETL pipeline. The etl_tutorial module should look like this:
src
└── etl_tutorial
    ├── __init__.py
    ├── definitions.py
    └── defs
        ├── __init__.py
        └── assets.py
There are three assets which each load a file into DuckDB. We have also seen how assets are automatically loaded into the definitions object that holds all of the objects in our project.
Next steps
In the next step, we will build downstream assets that transform the data we have loaded into DuckDB.